Planning a safe route onto and across a pitched roof

First decide whether anyone needs to step onto the roof. Photographs or a view from ground level or a safe window may show what you need. If access is necessary, have a person trained in work at height assess the covering, supporting structure and equipment already fitted. The access route and fall protection depend on what they find. Roof steps and walkways provide a route across the slope. A safety line needs an anchor specifically designed for that purpose.
By |2026-11-15T04:19:54+01:002023-01-07|Building academy|Comments Off on Planning a safe route onto and across a pitched roof

Roof replacement: from the first inspection to final handover

Plan a roof replacement around an inspection of the structure and the existing covering. Ask the roofer what can be assessed before stripping the roof and what will only become visible when the covering comes off. Use that distinction to define the work and agree how any additional repairs will be priced. Allow time for material deliveries, temporary protection against rain, and the installation of flashings and drainage. At handover, compare the finished work with the agreed scope and keep records of details now concealed by the new covering.

By |2026-11-14T20:37:04+01:002023-01-06|Building academy|Comments Off on Roof replacement: from the first inspection to final handover

Where cutting costs on a roof covering can prove expensive

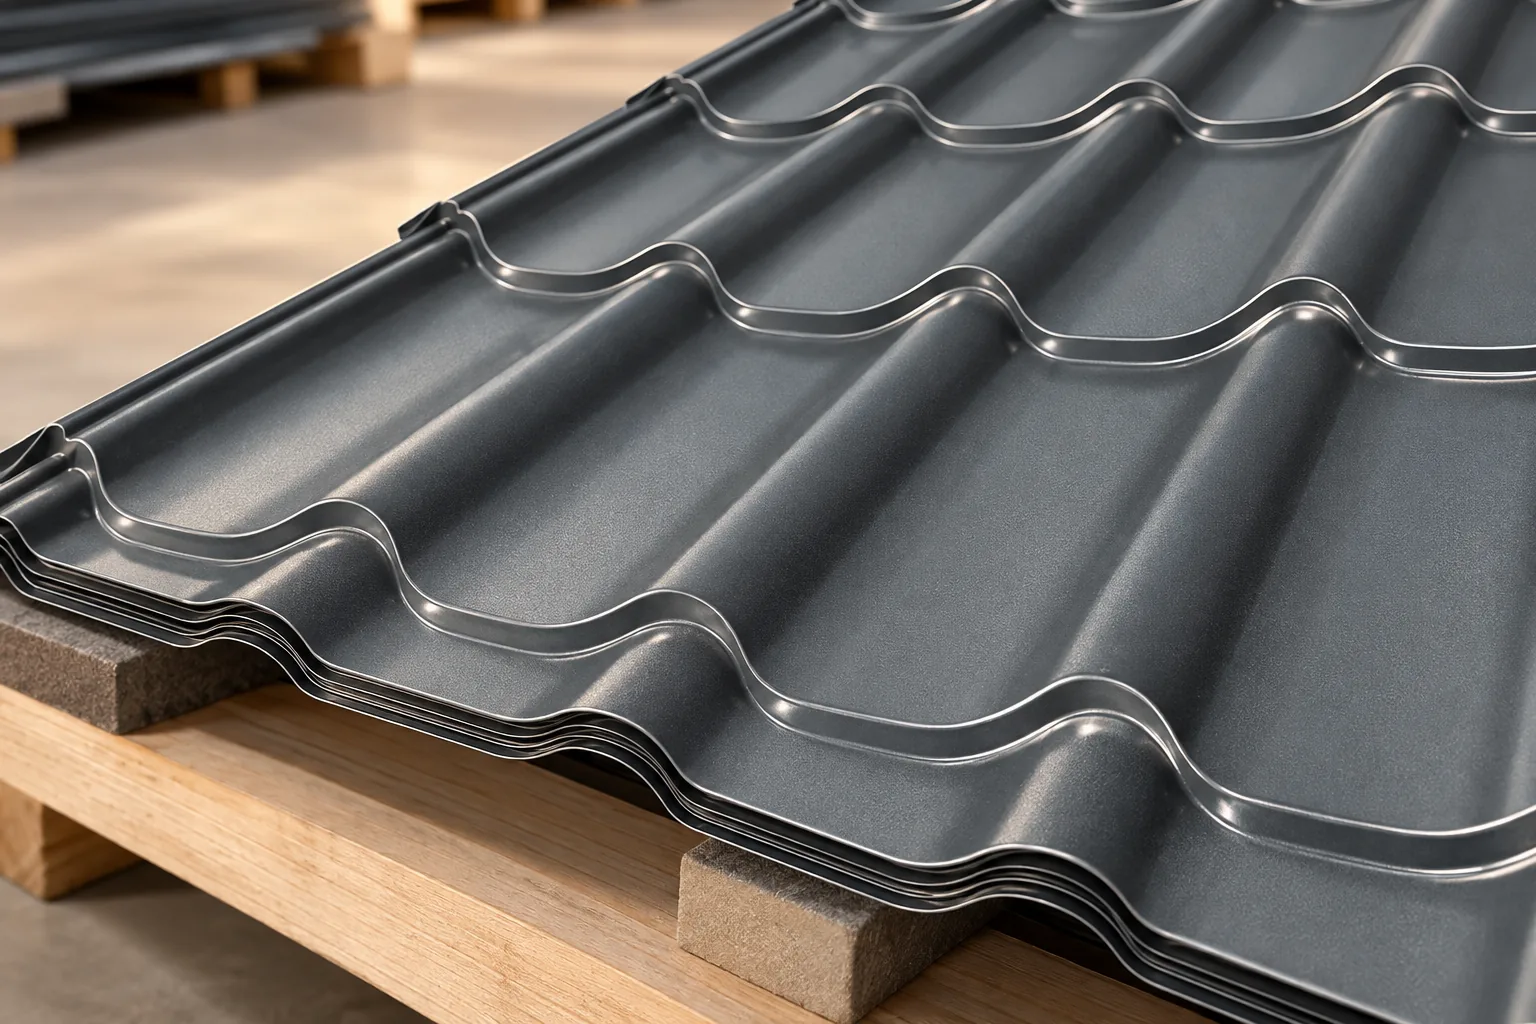
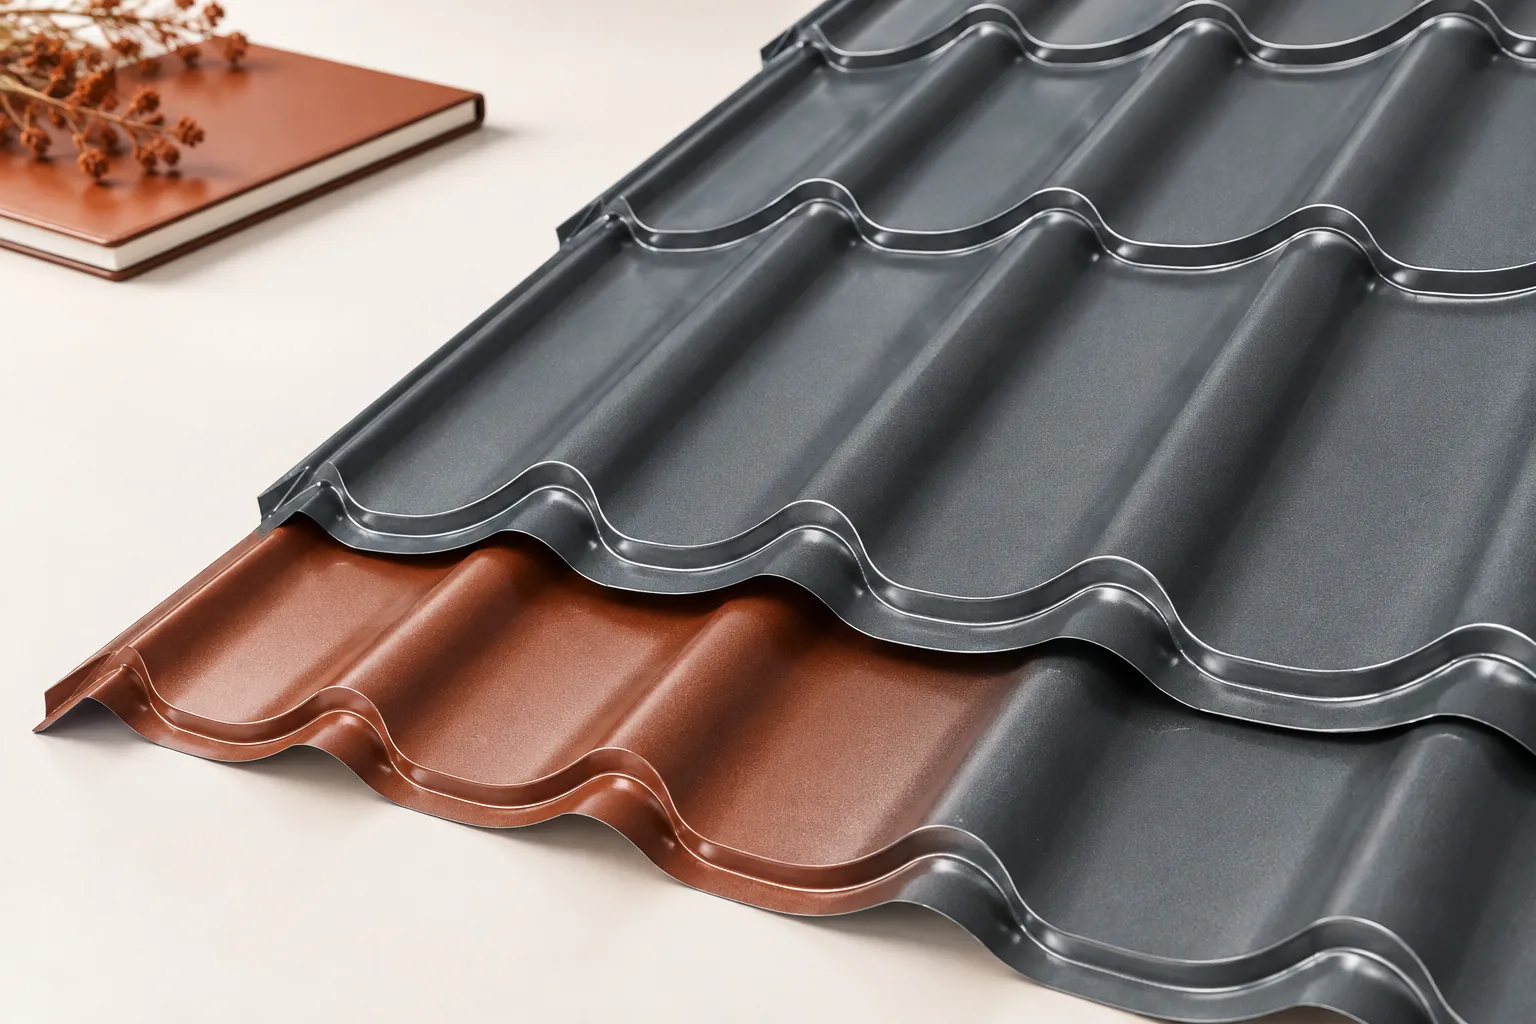
When buying roof covering, look at the whole system, not just sheet prices. The quote should include flashings, fixings, underlayers, drainage, transport, unloading and labour. Standardise the billing unit, thickness, profile and coating, because a square metre of sheet does not equal a square metre of coverage. Check fixing and flashing compatibility and the warranty scope. Leave final parameter selection to the designer, as a thinner sheet may need a different support arrangement.

By |2026-11-14T20:35:49+01:002022-08-03|Building academy|Comments Off on Where cutting costs on a roof covering can prove expensive

How an eaves flashing directs rainwater into the gutter

The drip edge above the gutter is a flashing at the lower edge of the roof slope that helps direct water from the eaves into the gutter and protects the eaves zone. To assess its performance, trace the path of a droplet from higher up the slope to the outlet and check that each lap carries water onward rather than under the previous layer. Shape and position must suit the covering, membrane and ventilation. Simply sliding metal under the first sheet may not suffice, so the detail is matched to the roof layout.

By |2026-11-15T00:24:10+01:002022-06-23|Building academy|Comments Off on How an eaves flashing directs rainwater into the gutter

Damp at a metal roof ridge: leaking ridge caps or a ventilation problem?

A stain below the ridge does not yet indicate the point where water entered the roof. Precipitation may have penetrated through a poorly executed joint. Moisture can also form beneath the covering as condensation. Ridge tiles must be assessed together with the roof slope layers. Only then is it clear whether the flashing needs repair or the ventilation detail needs changing. Simply adding sealant is often a seemingly simple solution. However, it can block the airflow path. Note whether the damp patches occur after rain, during a thaw, or also on dry days. Information on wind direction is helpful. A leak visible only during rainfall from one side suggests a different point to check than drops appearing in the morning under a large part of the roof slope. These are pointers for inspection, not a ready diagnosis.

By |2026-11-15T04:22:08+01:002022-05-19|Building academy|Comments Off on Damp at a metal roof ridge: leaking ridge caps or a ventilation problem?

Starter profiles at the plinth: spotting defects at the foot of a wall

The lower edge of the wall cladding is where different materials and different tasks meet. The end of the cladding must be protected, water must be drained away and the continuity of seals must be maintained. Starter profiles bring order to this detail, but not every one of them carries the load of the panel. If there are streaks or gaps at the plinth, it is worth checking the whole assembly. Simply adding another trim may only hide the problem. Various cross-sections appear under the name starter profile. Some begin the installation of the cladding. Others cover the lower edge or form part of the connection to the plinth. Whether an element provides support is decided by the design. A thin masking trim does not become a load-bearing element merely because of its position.

By |2026-11-15T04:22:24+01:002022-03-25|Building academy|Comments Off on Starter profiles at the plinth: spotting defects at the foot of a wall
Back to top