Installation and details
Installing trapezoidal steel roof sheets from the first sheet to the fixings
In brief
The key check before installing trapezoidal sheet is that the specific profile and roof design match, not the product name alone. The owner should verify whether the documentation states the sheet thickness, coating, sheet orientation and the required support spacing and fixing method. It is also worth establishing whether the façade version is approved for roof use. Only on that basis can the preparation of the slope and the sequence of work be assessed. The name T18 or T35 does not replace the data in the instructions, because the dimensions and properties of product families may differ.
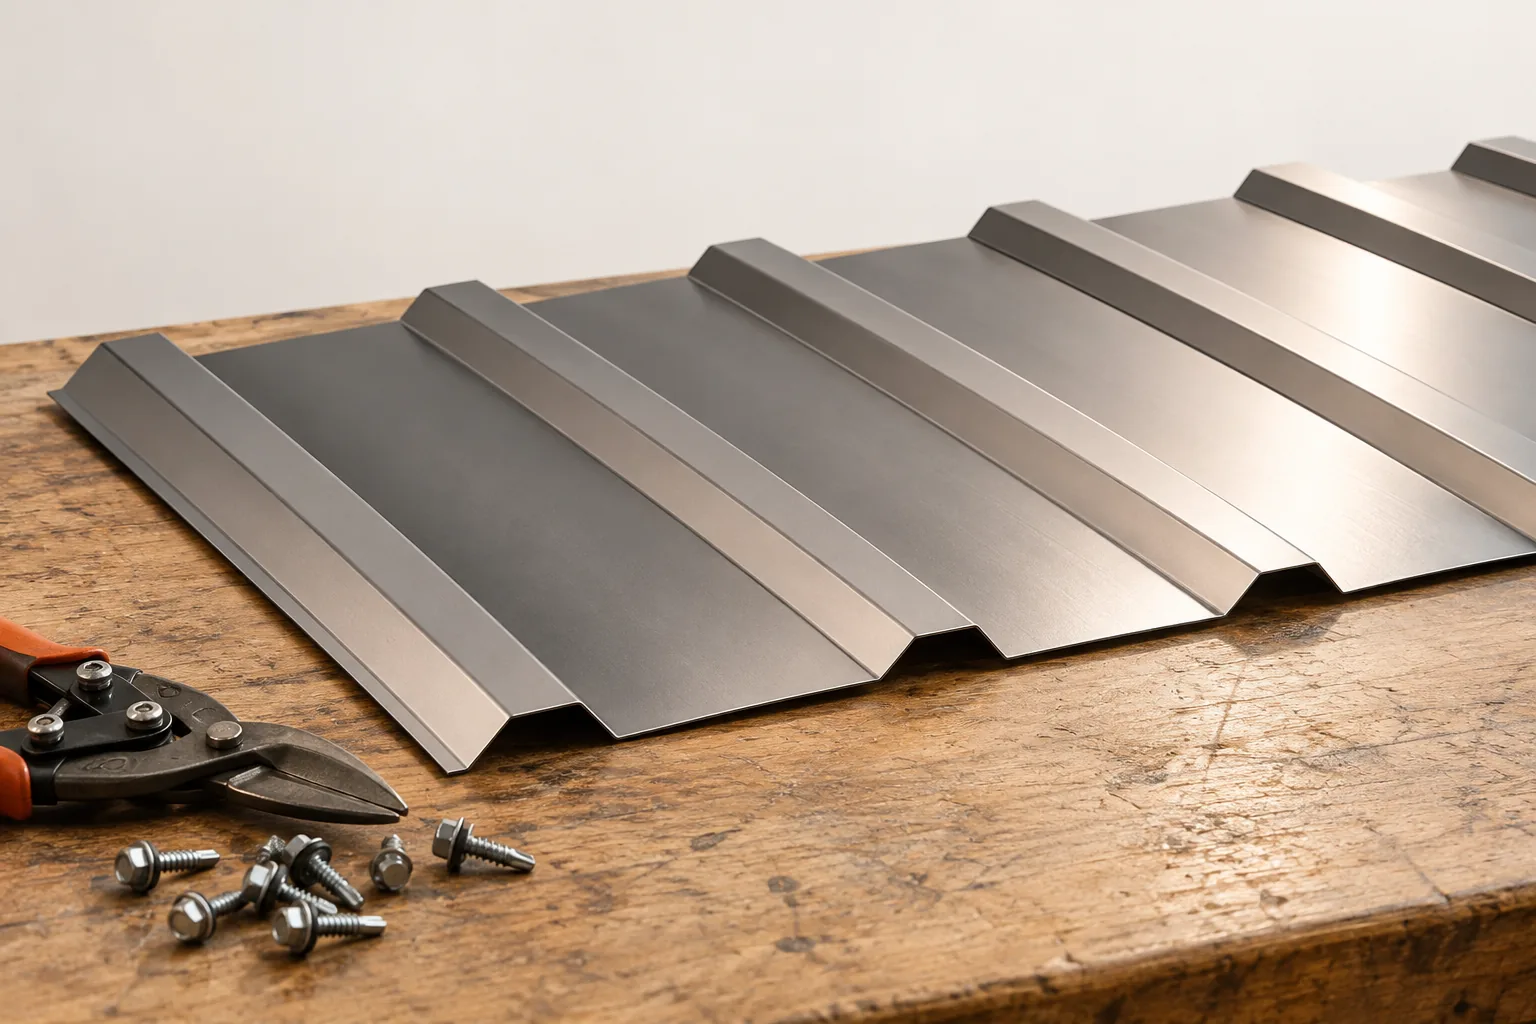
Step one: checking the substrate and documentation
Before delivery, the exact profile, sheet thickness, coating and sheet orientation must be established. The façade version is not always interchangeable with the roof version. The design specifies the supports and the loads. The installation instructions state the laying conditions and the permissible pitch. The designation T18 or T35 does not replace this data, because the dimensions and properties of the product families may differ.
The supports must be aligned in the correct plane and have the correct spacing. Their condition, the bearing width and the feasibility of the fastenings are checked. Unevenness should not be compensated by over-tightening the sheet. Before starting work, it is also worth planning the safe handling of the material and the protection of people working at the roof edges.
Step two: unloading and preparing the sheets
Sheets are carried without dragging them over other elements. Long sections require adequate support so that they do not bend permanently. On site, the markings and lengths are checked. Transport damage is best documented before installation. A visibly defective sheet should not be laid on the assumption that it will be easy to repair later.
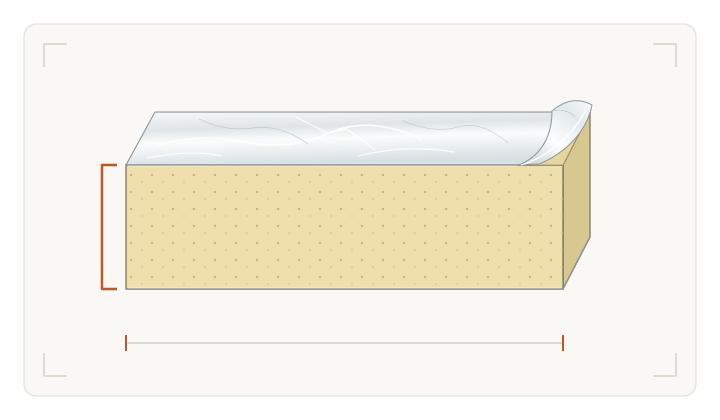
The material is stored in accordance with the instructions, with protection against water remaining between the sheets. The film is removed within the specified period. Cutting is carried out with tools approved for the given covering. An angle grinder may damage the coating at the edge and on adjacent surfaces. Swarf must be carefully removed after every cutting operation.
Step three: preparing the eaves and the first sheet
Before covering the eaves, the elements to which access will later be difficult are installed. Their sequence follows from the adopted arrangement of the gutter, the underlay and the flashings. Water from each layer must reach the intended place. The ventilation path must also be maintained if the roof structure requires it.
The first sheet is positioned according to the marked line and the geometry of the roof slope. An error at the beginning can accumulate over subsequent joints. Before final fastening, the positioning of several elements, the overlaps and the eaves edge are checked. A wrongly started row should not be straightened by stretching the profile or forcibly shifting sheets that have already been screwed down.

Step four: connections and fixing to supports
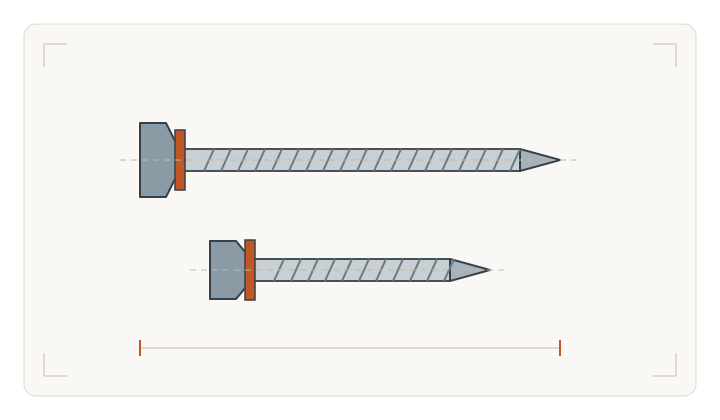
Fasteners are selected for the substrate, the thickness of the elements and the operating conditions. A screw intended for wood differs from a solution for a steel structure. Length, drilling capacity, corrosion protection and the washer are important. Joining the sheets to one another has a different purpose than fastening the entire covering to the supports.
The fixing layout should account for wind load zones. The number of screws given approximately per metre does not replace a plan of their spacing. The size of the laps and the need for seals depend on the system and the pitch. The washer is tightened correctly, without damaging it and without leaving any gap. In case of doubt, check the fastener instructions.
Step five: ridge, sides and roof penetrations
Flashings close critical points but must not block the designed ventilation. The ridge, verge flashings, chimney and wall junction require matched details. Sealant does not replace a correct lap or a properly formed flashing. When making openings, supports and structural elements must not be cut arbitrarily.
For long roof slopes, the thermal movement of the material and the rules for joining sheets along their length must be taken into account. Every additional device requires a proper penetration and transfer of loads. A flue or installation bracket should not rest on randomly cut sheet. The solutions are selected for the specific profile and layer build-up.
Step six: acceptance of the completed roof covering
After installation, check the straightness of the covering, the completeness of the fixings, the tightening of the washers and the execution of the flashings. Remove film, swarf and material remnants. It is worth inspecting the cut areas and the surfaces the installers walked on. Minor damage is repaired only in a manner permitted for the coating used.
The acceptance should also cover water drainage and the connection of the underlay to the eaves. Photographs of the details before they are covered make later servicing easier. It is good to keep the profile designation, sheet thickness, type of coating and the instructions. Such a set of documents helps with maintenance and material selection if repair is needed years later.
7 branches. Materials closer to your project.

- SEROCK — Dzierżenin 34 E
- BŁONIE — ul. Sochaczewska 138A
- RADOM — ul. Grobickiego 8
- ŁÓDŹ — Natolin 8
- OLSZTYN — Barczewo, ul. Prosta 9
- WROCŁAW — ul. Jerzmanowska 10C
- GORZÓW WLKP. — ul. Zielona 33/34