Installation and details
Roof valleys: how to detail the junction to prevent leaks
In brief
A valley gutter carries water from two roof slopes that meet in a concave junction. The whole detail, not just the sheet width, determines watertightness. Before installation, check the valley line, continuity of support and underlay, and whether water can flow smoothly to the eaves. Consider the valley length, roof pitch and covering type rather than the appearance of the channel alone. Fixings must not interrupt the drainage path, and laps should lead water from the higher element to the lower one. Also remember that leaves, needles and snow collect there.
Where does a roof valley form?
A roof valley occurs, for example, where the main roof meets the roof of a side wing or a dormer. It is the opposite of a convex corner. Water from two roof slopes reaches a shared channel formed by the flashing and flows on towards the eaves. During heavy rain, the volume of water can be considerably greater than on a similarly wide strip of an ordinary roof slope.
Leaves, needles and snow also accumulate at this point. The assessment of a roof valley should therefore not be limited to its appearance immediately after installation. Its geometry should ensure drainage even after several seasons, with typical roof soiling. Particular attention is required for long roof valleys and those into which roof slopes of differing pitch discharge.
How should the support and substrate be prepared?
The roof valley flashing requires a stable substrate in accordance with the selected covering system. It should not hang between randomly cut battens. The method of forming the support is specified in the roof documentation. Before laying the sheet metal, the valley line and the possibility of smooth drainage of water to the eaves must be checked.
The underlay also requires continuity. The membrane beneath the roof valley must not end where any water that gets through would enter the insulation. Its strips, overlaps and connections are made according to the material instructions. A distinction must be made between the main drainage over the flashing and the drainage of water that has found its way beneath the covering.
How is the width of the flashing selected?
There is no single roof valley width suitable for every house. The length of the roof valley, the area of the drained roof slopes, their pitch and the type of covering are all significant. The way the edge is folded and the sheet metal is fixed must also be taken into account. The dimension of the visible channel is not the same as the width of the entire developed flashing.
The covering sheets on both sides should leave the designed drainage path. Excessive narrowing of this space can increase the risk of water backing up. Conversely, the accidental exposure of a very wide strip does not replace a correct detail. Before ordering the flashings, the contractor should determine their dimensions on the basis of the specific roof.

Where must random holes not be made?
The fixing of the flashing must leave a watertight drainage zone. A screw passing through the base of the roof valley creates a point requiring sealing exactly where the water flows. The method of fixing should therefore follow the instructions, not the desire to press down a loose section at the easiest point.
The joints between successive sections of the roof valley also matter. They are laid so that water passes from the higher element to the lower one. The lap and any sealing are selected to suit the solution. The steel sheet moves under the influence of temperature, so rigidly fixing a long flashing at many random points can cause deformation.
How should the covering be cut at a roof valley?
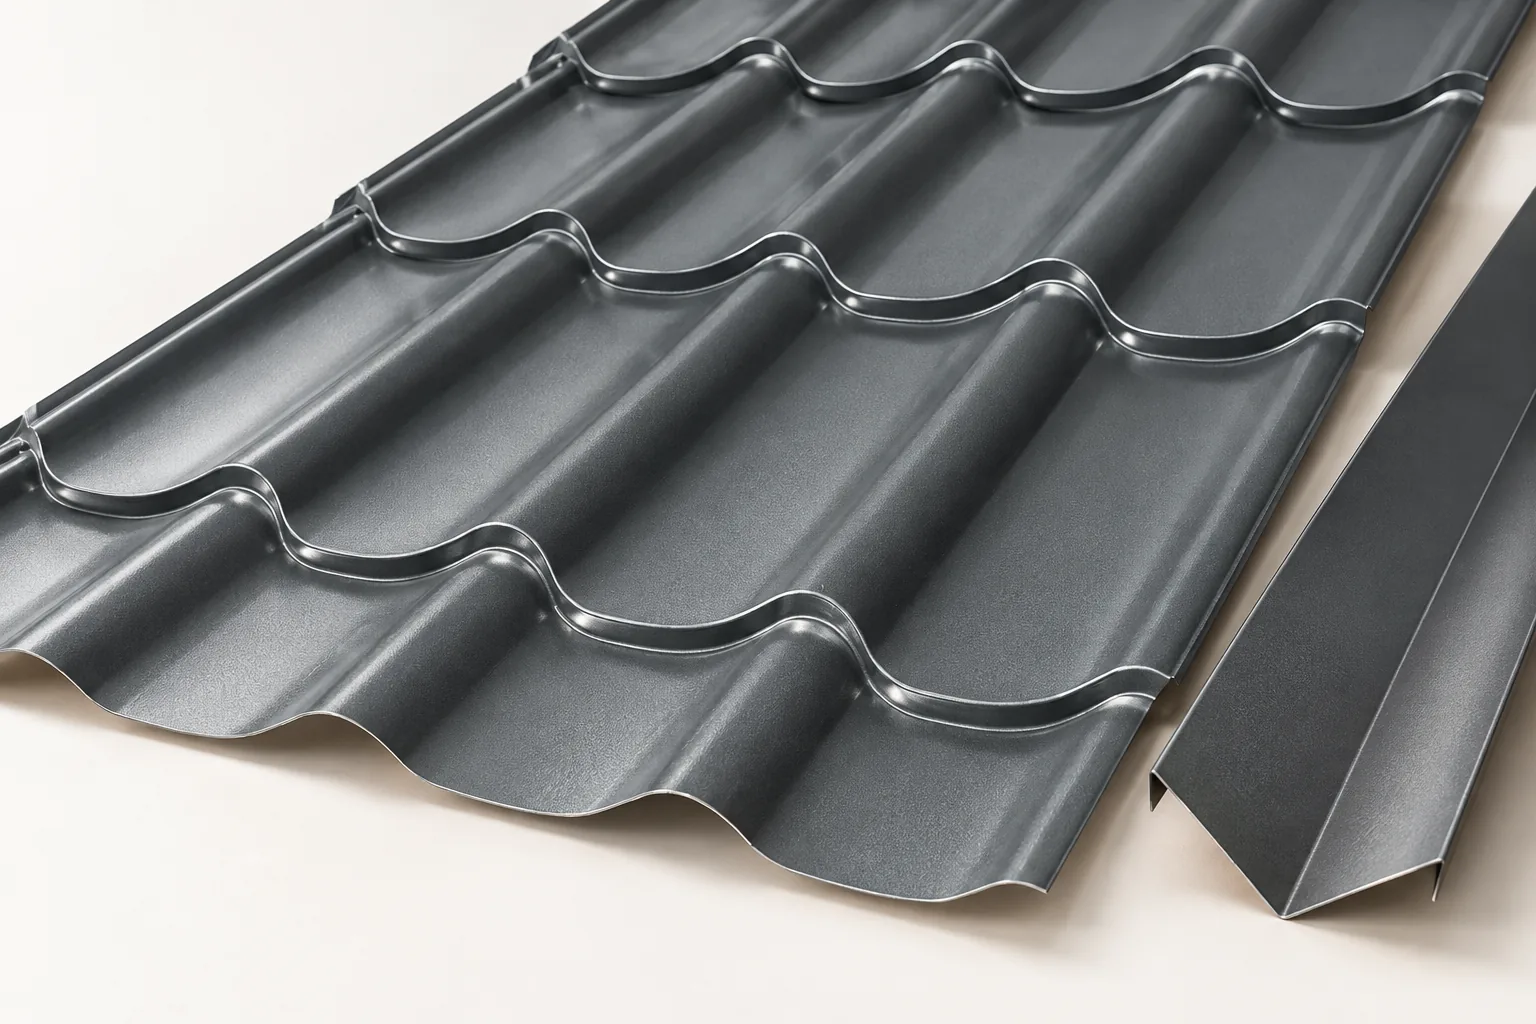
The cutting line should be determined before working the sheets. With modular tile-effect metal roofing, the course of the pressings and the possibility of stably fixing the edge fragments must be taken into account. A small triangular piece must not be held solely by sealant. It is also important to preserve the drainage path for water from under the cut edges.
Tools approved for coated steel sheet are used for cutting. An angle grinder heats the edge and scatters sparks that can damage adjacent surfaces. After work, the filings must be collected. Small metallic soiling can look like corrosion of the covering itself after rain, even though its source is residues from installation.
What does acceptance and the subsequent inspection cover?
At acceptance, the continuity of the flashing, the direction of the laps, the position of the fixings and the termination at the eaves are checked. The drainage must not direct water behind the gutter or under the flashings of adjacent elements. Photos of the successive stages are useful before the roof valley is partially covered with sheets. They allow the invisible layers to be assessed later as well.
During inspections, soiling must be removed and places where moisture accumulates observed. Stains under the roof valley do not always mean that the entire covering needs to be replaced. The cause may lie in a single lap or a blocked drain. Repair should begin with identifying the path of the water, not with flooding the visible gaps with another layer of compound.
It is good practice to check the entire drainage route after cleaning. Removing leaves from the middle of the roof valley will not help if its lower end remains blocked at the gutter. The check must be carried out from safe access. The slippery flashing of the concave joint is not a place intended for walking.
7 branches. Materials closer to your project.

- SEROCK — Dzierżenin 34 E
- BŁONIE — ul. Sochaczewska 138A
- RADOM — ul. Grobickiego 8
- ŁÓDŹ — Natolin 8
- OLSZTYN — Barczewo, ul. Prosta 9
- WROCŁAW — ul. Jerzmanowska 10C
- GORZÓW WLKP. — ul. Zielona 33/34