Repair and maintenance
Roofing defects: finding the cause and documenting a complaint
In brief
When reporting a roof problem, start by separating the visible symptom from its source. A crack, colour change or leak may come from the material, transport, installation or use. In your report, state the facts and where the issue appears. Delivery documents, photos of the work stages and product data help; without them, responsibility and the right repair are hard to judge. Describe what you observe, when it began and under what conditions. For a leak, note the rainfall circumstances; for discolouration, say whether it covers the whole slope, one sheet or the chimney area. A general claim of a defect gives the contractor or supplier too little to assess.
How to describe the problem without premature conclusions?
Record exactly what is visible, since when and under what conditions. For a leak, give the circumstances of the rainfall. For a colour change, indicate whether it affects the entire roof slope, a single sheet or the area by the chimney. The statement ‘the roof is defective’ does not give the contractor or supplier the information needed for assessment.
Do not immediately assume that the most expensive component is the cause. A wet patch does not have to mean damage to the sheet metal itself. Rusty deposits may come from left-over swarf. On the other hand, not every problem should be regarded in advance as user error. An inspection and evidence are needed.
What documents should be collected?
Prepare the order, invoice, specification and delivery markings. The profile, thickness, coating and production date or batch, if given, are important. Attach the instructions and warranty terms for the purchased version. A document for a different product may lead to incorrect conclusions.
If the work was carried out by a crew, keep the contract, cost estimate and acceptance report. Findings regarding structural repairs and deviations from the original scope are useful. There is no need to create an extensive construction history. The most important thing is to show what was supplied, how it was to be installed and when the problem appeared.
How to take photos that actually help?
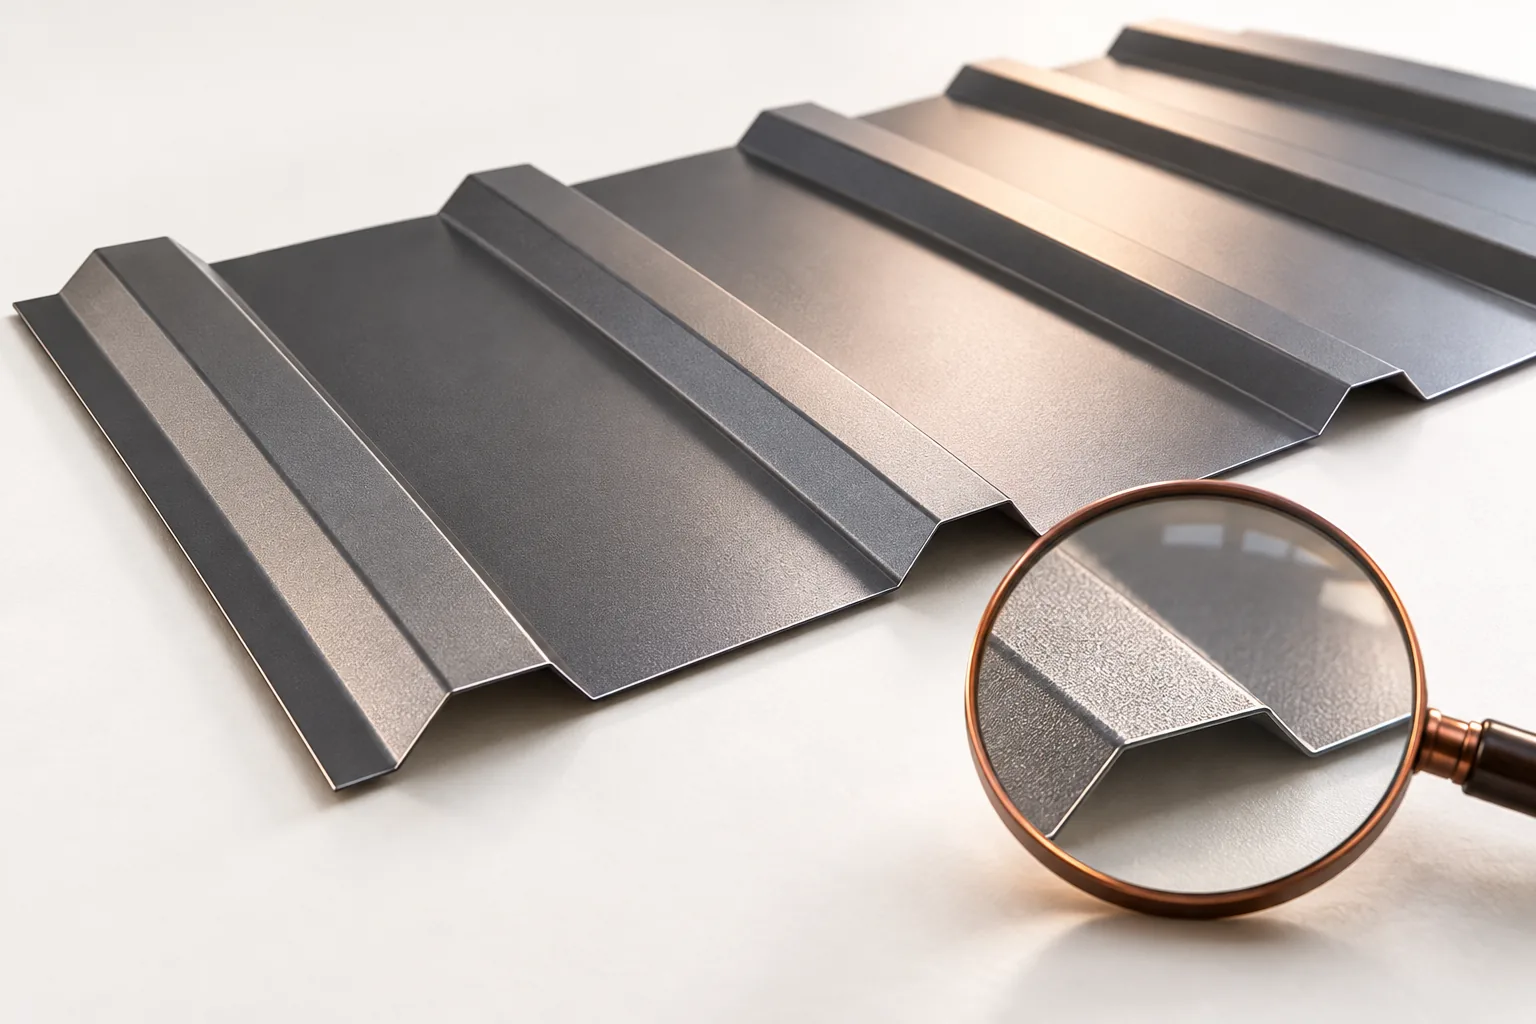
Take a shot of the entire roof slope, the section with the defect and a close-up. This allows the person assessing it to see the location of the problem. For details, a scale is helpful, provided it can be placed safely. A photo of the scratch alone without its surroundings does not make it possible to determine whether it is at the lap, the fastening or the cut edge.
Keep the original files and dates. Do not adjust colours or contrast in a way that changes the appearance of the damage. Describe the direction of the photo and the location on the roof. Documentation can be collected from the ground, the attic and safe access points. It is not worth risking going onto an unprepared roof slope just for a better shot.

What can be detected already at delivery acceptance?
Damaged packaging, a wet parcel and bent edges should be recorded before installation begins. Compare quantities and markings with the order. If a colour discrepancy is visible, do not immediately assume it will disappear once laid. First clarify the origin of the individual components.
Material that raises serious doubts should not be installed and covered straight away. Agree with the supplier how it is to be verified. At the same time, secure the parcels in accordance with the instructions so that storage conditions do not aggravate the problem. Acceptance documentation helps distinguish damage from delivery from later events.
Why are photos of covered works useful?
Once the roof is finished, the entire substructure, the membrane and many connections are no longer visible. Photos from the installation show how the eaves, chimney and penetrations were resolved. They can help when explaining leaks or condensation. It is worth taking them systematically, not only once a dispute has arisen.
However, a single frame should not be treated as full proof that the entire roof is correct. A photo shows only a specific stage and section. The final assessment may require an inspection, a measurement or local exposure of the layers. The scope of such a check should be agreed and documented.
Should the roof be repaired before the inspection?
The risk and further damage must be limited, but the course of action should be agreed with the person carrying out the assessment. If an urgent repair is necessary, document the condition before it is carried out and the materials used. Removing all traces without photos and a description will make it harder to clarify the cause later.
Do not cover the entire roof slope with random paint or compound just because the problem appears to be superficial. Such intervention can change the condition of the material and obscure the source of the defect. For minor issues, securing the area and promptly agreeing a date for inspection is often enough.
What should result from the final assessment?
A description of the cause, the scope of the repair and how its effectiveness will be checked is needed. It is worth establishing whether the problem affects a single location or may recur in similar details. Repairing the symptom without improving the working conditions of the covering may bring only short-lived improvement.
After completion, keep the report and photos. At subsequent inspections, return to the locations covered by the repair. Good documentation is not solely for disputes. It also helps carry out proper servicing and avoid dismantling the roof again when a similar doubt arises.
7 branches. Materials closer to your project.

- SEROCK — Dzierżenin 34 E
- BŁONIE — ul. Sochaczewska 138A
- RADOM — ul. Grobickiego 8
- ŁÓDŹ — Natolin 8
- OLSZTYN — Barczewo, ul. Prosta 9
- WROCŁAW — ul. Jerzmanowska 10C
- GORZÓW WLKP. — ul. Zielona 33/34