Installation and details
Planning roof access for maintenance: steps, walkways and safe routes
In brief
A designated roof route leads to the chimney and to equipment that needs servicing, so walking on the covering itself is reduced. This path should start at a safe entry point and reach every point requiring attention. Steps, platforms and brackets must work with the roof structure, and not every component is suitable for attaching a fall-arrest line. Consider the roof access hatch, the perimeter and the entire course of the route, plus service access where photovoltaics are present. A designer or installer familiar with the system should assess the layout.
Why is a designated route needed?
A chimney, vent or technical unit requires periodic access. Accidental walking on the sheets can damage the covering and creates a risk of slipping. A planned route allows the stepping points and the working position to be defined. It should lead from a safe entry point to the point that will be serviced.
It is not enough to install a single platform at the chimney if it cannot be reached. The roof hatch, the roof edge and the course of the entire route must be taken into account. With a photovoltaic installation, service access is also required. The panel layout should not cut off a previously planned passage.
How do steps and walkways differ?
Steps create successive support points when moving along the slope. A walkway provides a wider surface at the working position or along a section of the route. Both elements require matched brackets and connections. Their use and the permitted layout are specified in the documentation for the specific system.
The size and arrangement of the elements must be adapted to the roof pitch and the usage requirements. A run should not be created solely according to how many pieces are left in the packaging. The ability to move safely from one element to the next is important. In case of doubt, the layout should be assessed by a designer or contractor familiar with the given system.
How to attach a roof access system to a metal roof?
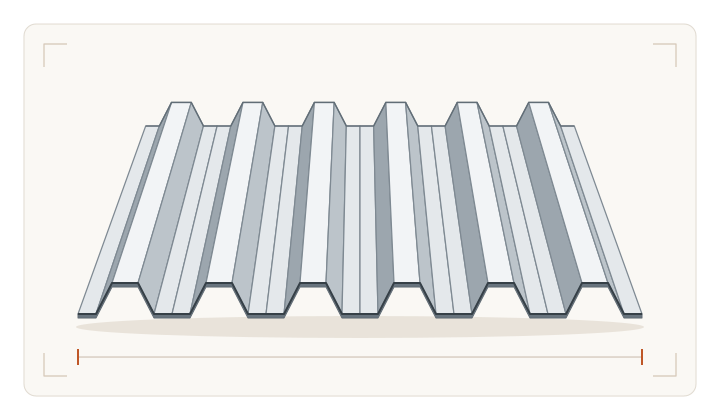
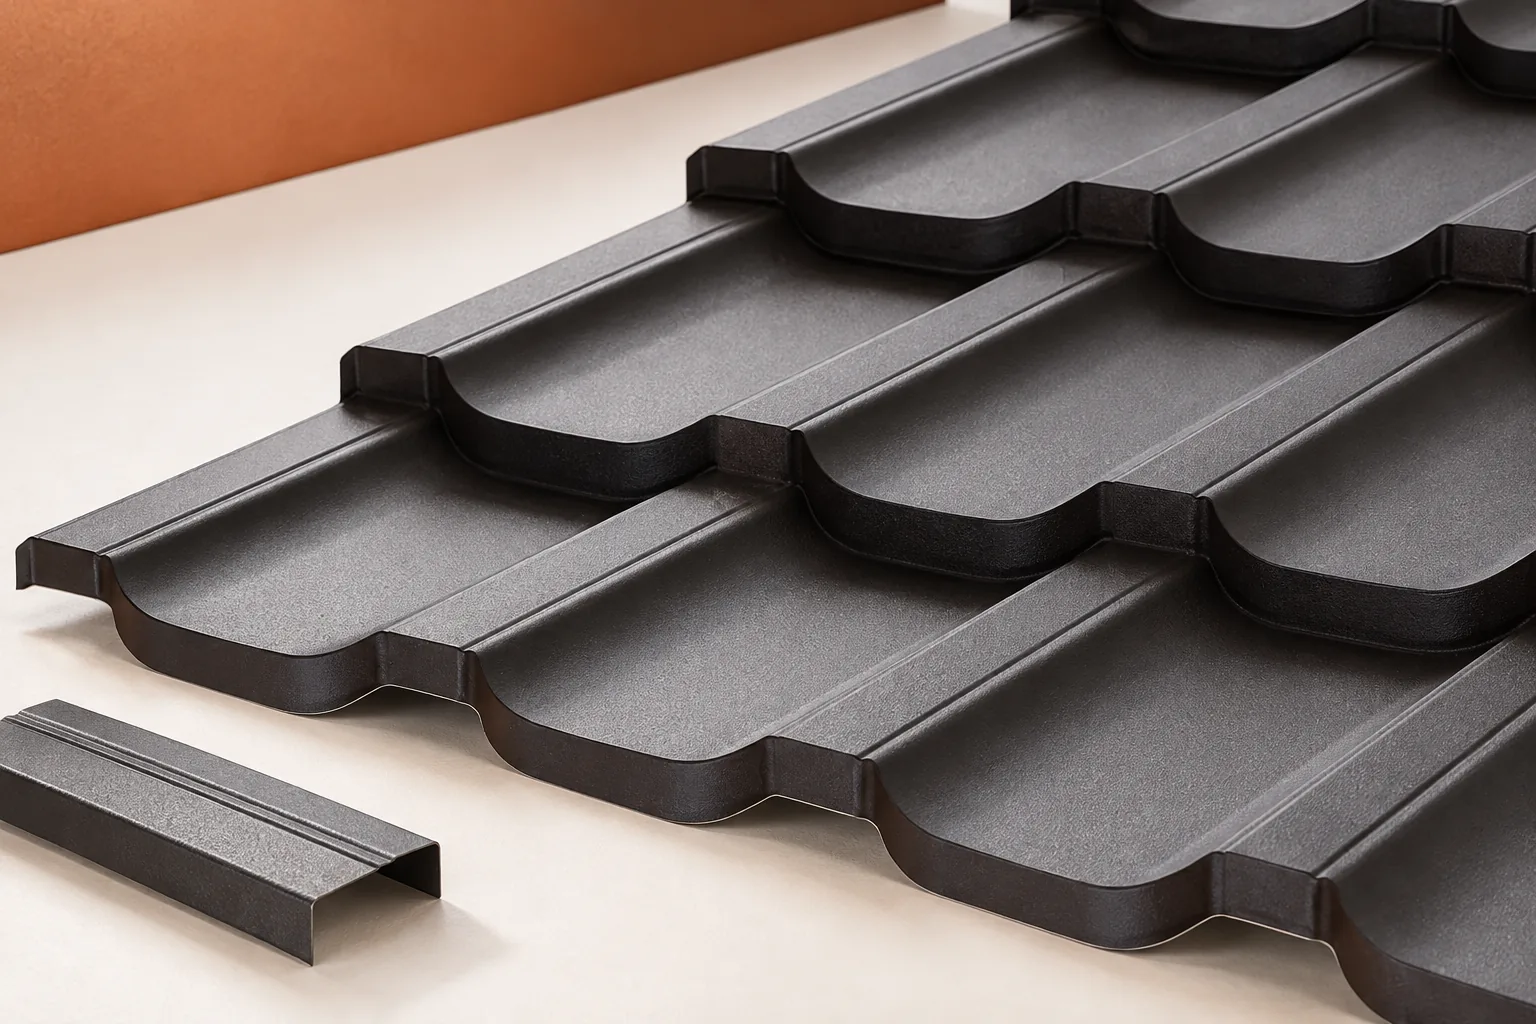
The bracket must fit the roof profile and transfer the load to the supporting structure. Tile-effect roofing and trapezoidal sheets may need different brackets. A thin sheet alone cannot be assumed to support a person wherever they stand. The bracket needs the support specified in the roof design.
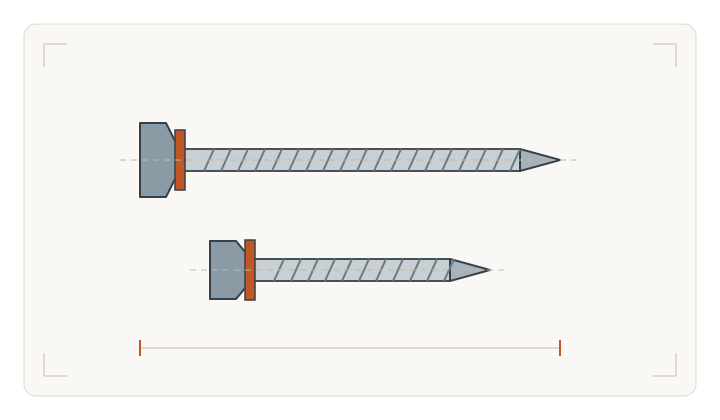
These locations are easiest to agree before the covering is laid. The required supports can then be prepared and the continuity of the layers maintained. Every penetration through the sheet requires proper sealing. The choice of screws and the pressure of the seals should follow the instructions, not the method used on the adjacent roof element.

Can a safety rope be attached to the walkway?
This should not be done without explicit approval. An element intended for standing does not necessarily have to bear the forces arising during fall arrest. There are access systems whose documentation expressly prohibits their use as anchor points. The massive appearance of a walkway alone does not confirm such a function.
The fall protection method must be developed separately and linked to safe access. Anchor points, equipment and work organisation must match the task. A snow guard, gutter or photovoltaic panel frame does not become an anchor point simply because it is close to the worker.
How to maintain aesthetics without losing function?
Access system components can be colour-matched to the roofing. It is worth doing this together with the roof order to avoid accidental differences in finish. However, colour should not decide the choice of bracket. Technical compatibility, load-bearing capacity and environmental purpose are checked first.
The route should not be shortened or a necessary step removed solely for a better view from the street. However, the position of the roof hatch and equipment can be considered at the design stage. A well-planned access often requires fewer elements than a solution added after construction is complete. Such changes must preserve full functionality.
What to check during use?
Check the condition of connections, the stability of elements and the tightness around brackets. Leaves, dust and other contamination can impair surface grip. The scope and frequency of inspections should correspond to the system instructions. A damaged or loose element must be assessed before further use of the route.
Inspection requires safe access and appropriate qualifications. Strength must not be checked by jumping on the walkway or loading it with random objects. Keep the product and installation documentation. This will make it easier to select parts and confirm what activities the system may be used for.
After adding a new installation on the roof, reassess the access route. Moving equipment can change the work location and the need for access. Even a correctly installed route becomes pointless if it is obstructed by modules or cables. The access system should be taken into account with every change to the roof equipment.
7 branches. Materials closer to your project.
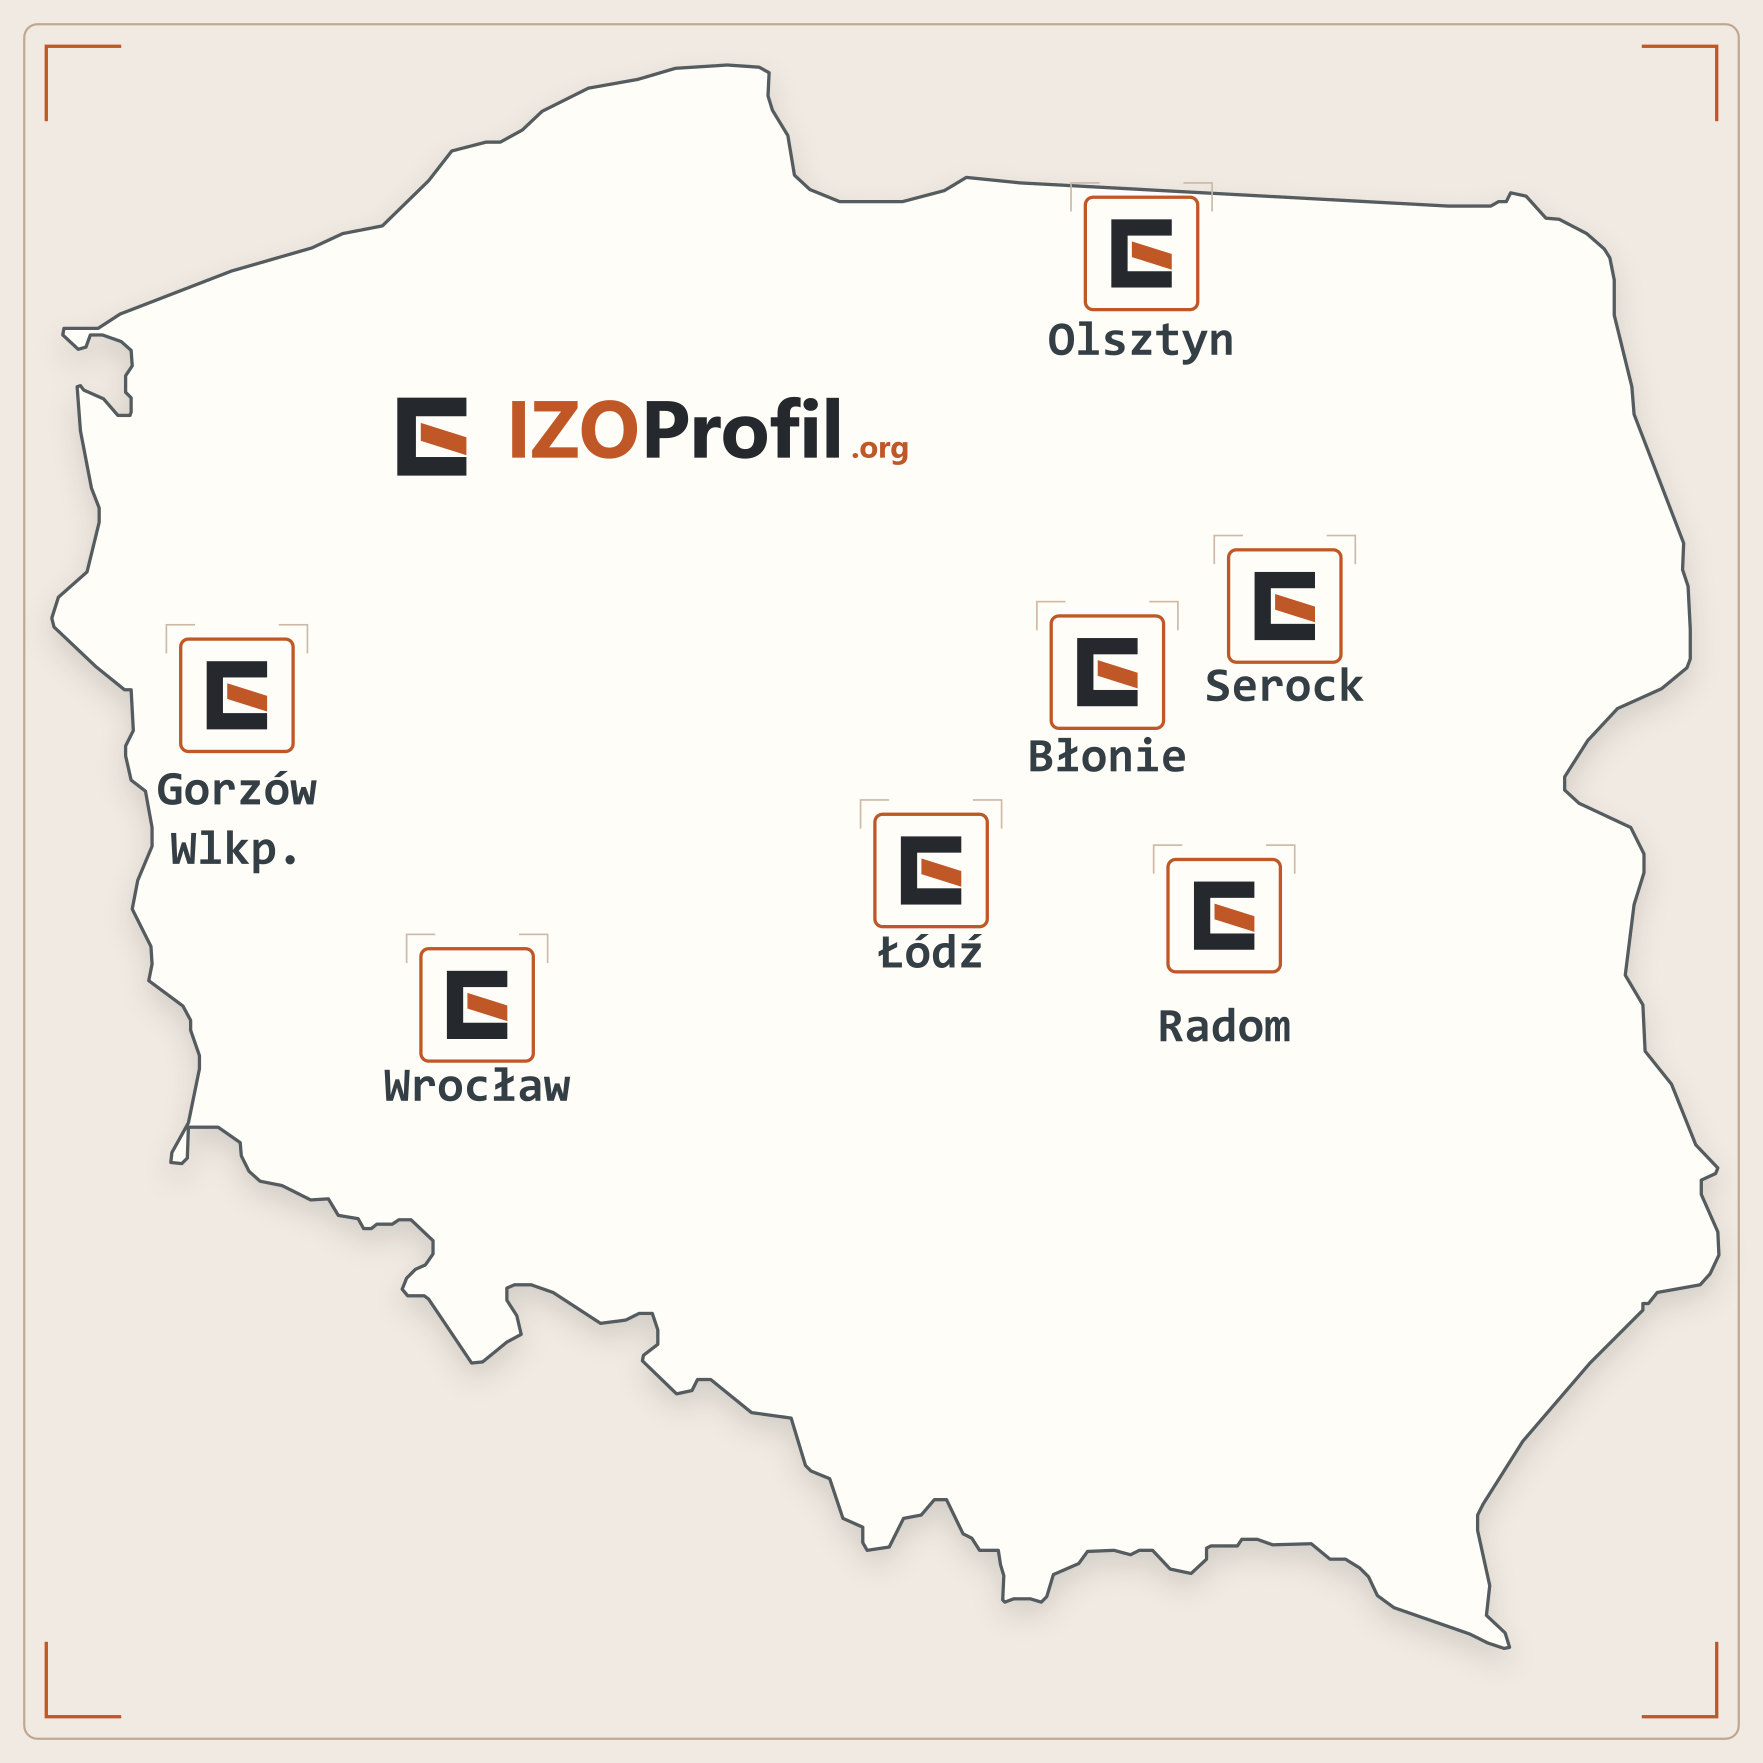
- SEROCK — Dzierżenin 34 E
- BŁONIE — ul. Sochaczewska 138A
- RADOM — ul. Grobickiego 8
- ŁÓDŹ — Natolin 8
- OLSZTYN — Barczewo, ul. Prosta 9
- WROCŁAW — ul. Jerzmanowska 10C
- GORZÓW WLKP. — ul. Zielona 33/34