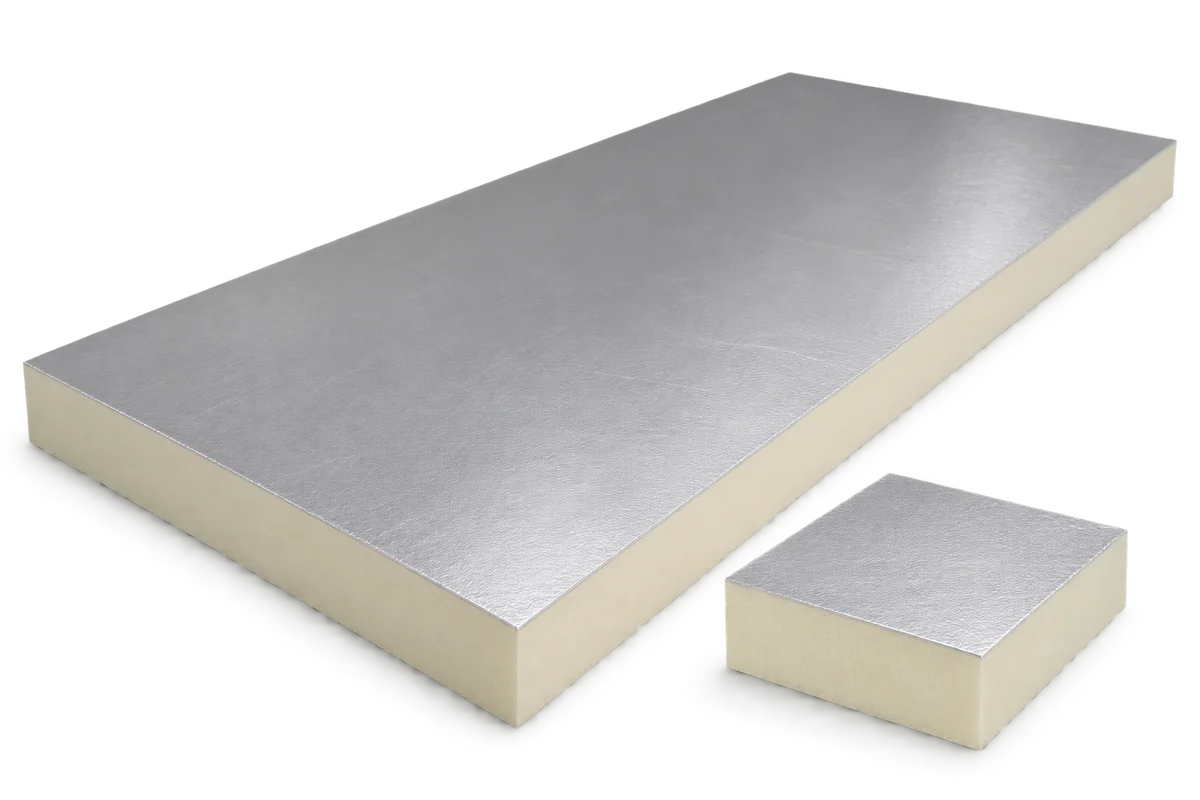
PIR insulation
Inspecting above-rafter PIR before the roof covering goes on
At a glance
Once a pitched roof is covered, it is difficult to inspect the PIR board joints or the junctions with adjoining insulation. Agree an inspection point with the roofer before work starts. Have the roof section and the eaves, ridge and roof window details ready, then check them in turn before the next layer conceals them. This checklist helps the client record how the design was built and direct questions to the right person. It does not replace the fixing design or the instructions for the selected system.
Agree an inspection point
Agree which slopes will be documented before covering and who will sign off corrections. The contractor arranges inspection from a safe position; the client does not need to step onto an exposed roof to obtain records.
Trace the insulation at the eaves
On the section, trace a line from the wall insulation to the board above the rafter. Any break in that line needs an explanation in the detail. A photograph of the neat main roof slope will not show this junction.
Photograph the same eaves detail from the wall side and the roof side. Use the same reference, such as a grid line, for both images. The junction can then be located even after the soffit is closed.
Inspect the board joints
Check board edges on delivery and after cutting. If a damaged edge prevents a joint closing properly, use the system instructions to determine the repair. One filler is not the answer to every gap.
For a multilayer design, record the laying sequence. A photograph of the top layer cannot show the joints already hidden underneath. Label each inspection photo with its layer and roof slope.
Check the window, chimney and ridge
Compare all four sides of the roof window with the detail for that model. A photograph taken only from the sill cannot show the head of the window. Record the installation kit reference too.
Do not copy a routine pipe detail at a chimney. Ask for the detail for the particular chimney system. At the ridge, check the termination of insulation separately from any ventilation path the design requires.
Match fixings to the design
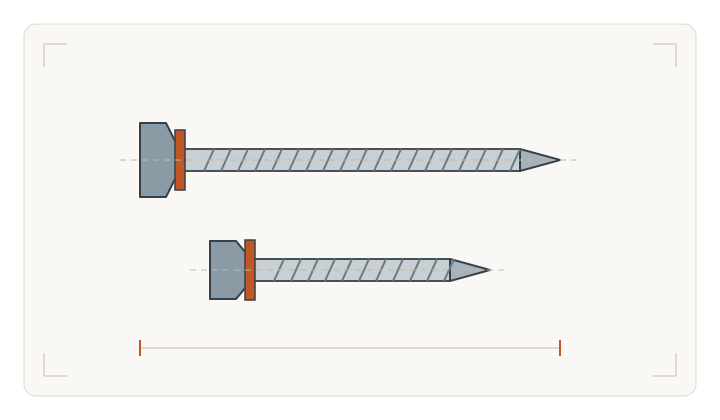
Match the fixing designation to the schedule for this slope. Spacing, length and direction come from the design and system instructions. A screw count in a photograph of another project is not a reference.
Flag any difference between actual and drawn rafter spacing before fixing continues. Record the designer’s response and date so an approved change can be distinguished from an installation discrepancy.
Keep an indexed photo record
Add photo numbers and short detail names to the roof plan. Pair a close-up with a wider view showing an identifiable part of the building. This makes it possible to locate the detail for a later repair.
Close the checklist after inspecting corrections: place the after photograph next to the original. The record then shows what was actually covered, as well as what the contractor was asked to correct.
7 branches. Materials closer to your project.

- SEROCK — Dzierżenin 34 E
- BŁONIE — ul. Sochaczewska 138A
- RADOM — ul. Grobickiego 8
- ŁÓDŹ — Natolin 8
- OLSZTYN — Barczewo, ul. Prosta 9
- WROCŁAW — ul. Jerzmanowska 10C
- GORZÓW WLKP. — ul. Zielona 33/34