PIR insulation
Does the Powerroof tongue-and-groove joint eliminate every thermal bridge?
At a glance
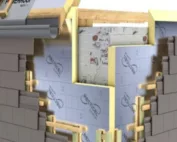
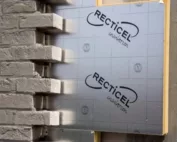
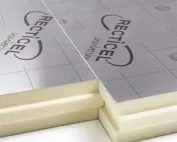
The tongue-and-groove joint on all four edges of Powerroof brings adjacent PIR boards together in a way that facilitates continuous contact, but it does not eliminate all thermal bridges in a pitched roof. The edge profile alone does not determine the behaviour at the eaves, the ridge or at the points where fasteners penetrate the above-rafter insulation layer. Recticel Powerroof is a PIR board with aluminium facing, intended for above-rafter thermal insulation; its position above the rafters must be read from the course of the layer and the method of fixing the covering, not from the appearance of the joined boards alone. Continuous insulation does not, after all, take over the function of the elements that transfer forces from the covering to the timber structure.
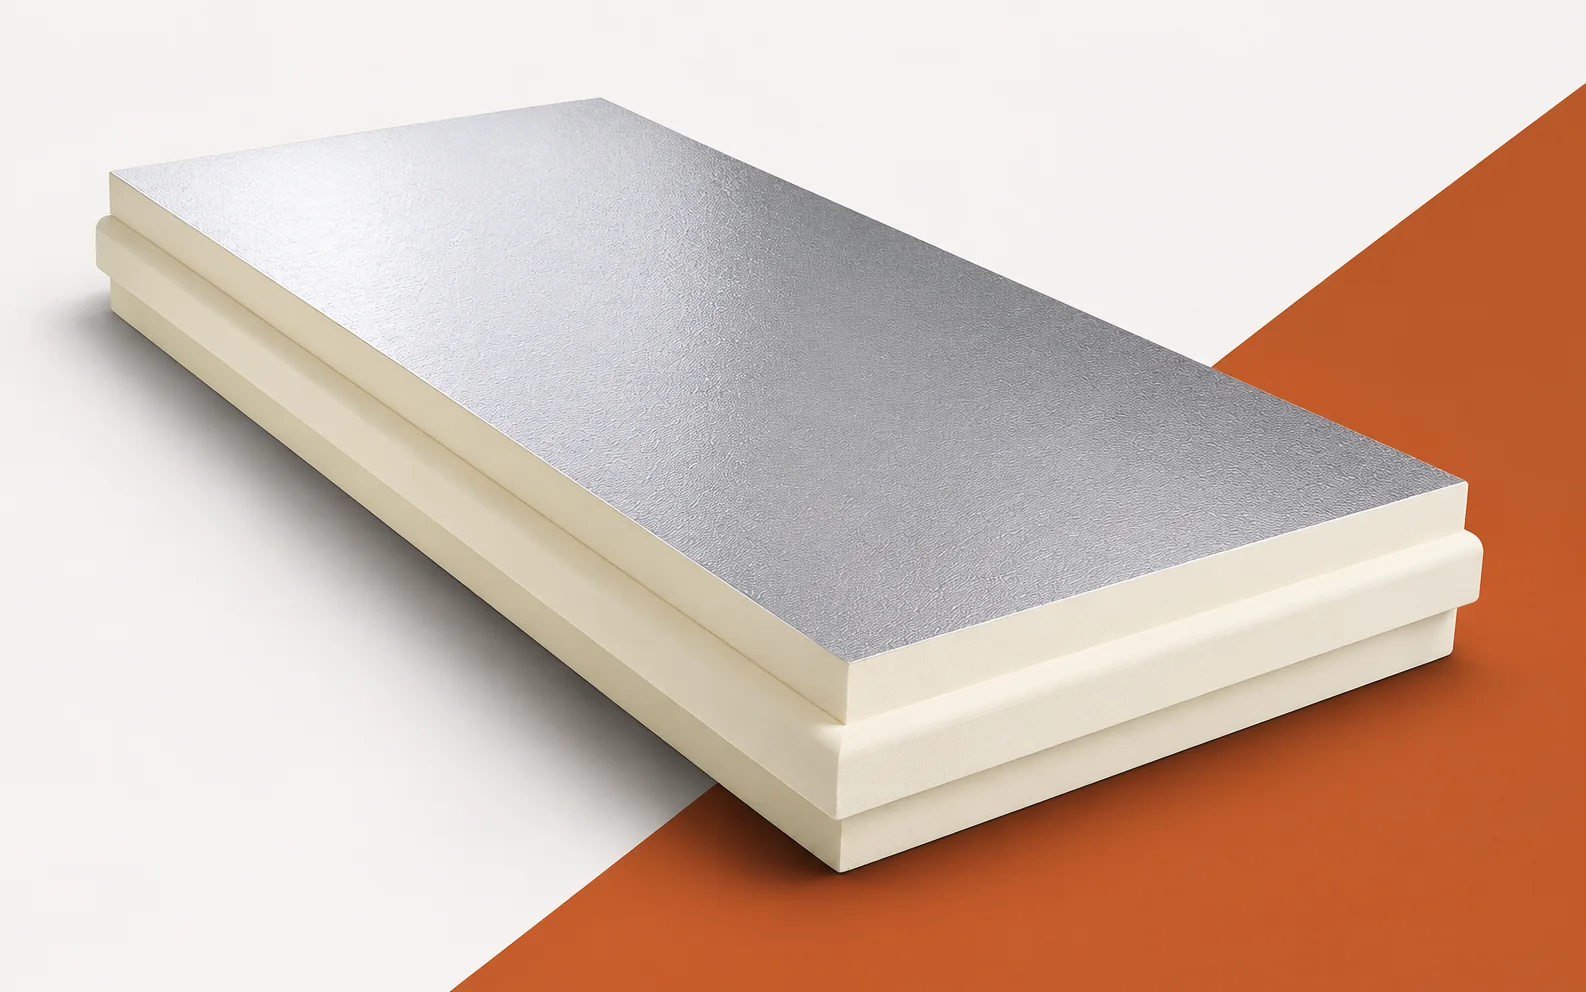
The product’s construction explains its application
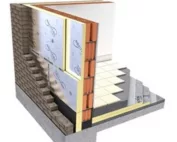
Well-chosen PIR boards should allow the assembly above the rafters to be used without omitting support and without changes to the roof geometry. During the inspection, compare the course of the insulation layer, the height of the roof slope and the design of the connection to the timber elements with the documentation or with the condition before the change.
How to read thermal parameters
The value of 0.022 W/(m·K) is the declared lambda of Powerroof, i.e. the thermal parameter of the board, not a result for the entire roof slope. In the question of thermal bridges, it allows the thickness required for a given thermal resistance to be estimated, but it does not say whether the joints and fixings will maintain its continuity.
The thermal resistance of the Powerroof layer results from its thickness and the declared lambda of 0.022 W/(m·K), but it relates to the middle of the board, not to every detail of the roof slope. The calculation must take into account the fasteners penetrating the thermal insulation, because the value from the offer does not describe the conditions of use. The space saving refers to the full cross-section, not to the material alone; before accepting the result, the fixing parameters, the run of the joint at the eaves and the insulation thickness at the terminations are needed.
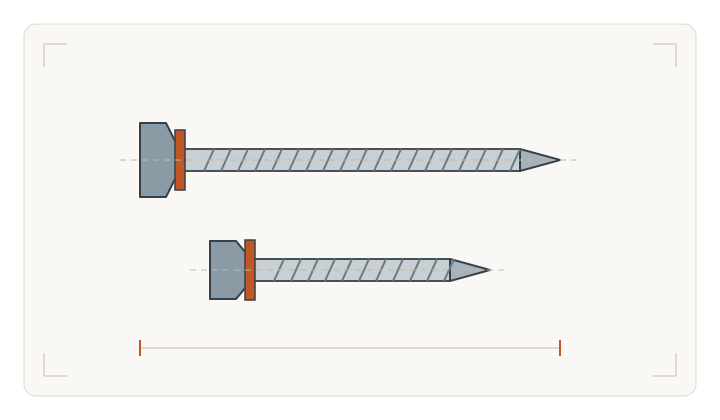
With Powerroof, it is worth distinguishing the visible tongue-and-groove line from the finished detail of the whole roof. The profile makes it easier to lay the boards together, but it does not seal at the chimney or form the window flashing. Nor does it replace the fixing of the layers to the structure. When the problem occurs at an obstacle on the roof slope, assessing the edge profile alone is therefore too narrow. All materials reaching that point must be checked.
Moisture must be identified, not merely covered up
The aluminium facing of Powerroof does not close roof penetrations; a layer protecting against water with correct laps and terminations is needed. Therefore, when assessing thermal bridges, the role of the board must be distinguished from the sealing of details, which the edge profile itself does not seal.
In the case of water or moisture, first separate the chimney penetration through the thermal insulation from the separate water-draining layer. At the chimney, the rain-protection layer is closed independently of the edge profile of the PIR boards, so without checking the chimney flashing and its terminations, do not attribute the cause to the product name or the Powerroof aluminium facing. The diagnosis establishes the continuity of the water barrier independently of the PIR board jointing; compare the run of the laps, the treatment of the penetration and the protection of the open roof area during the installation break with the history of the problem.
Edge profiles and joint continuity
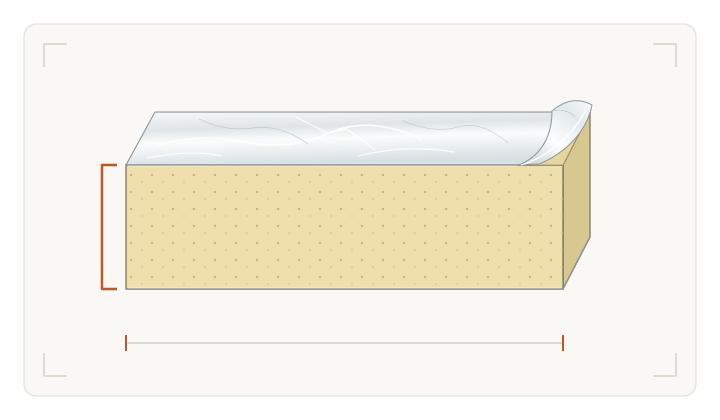
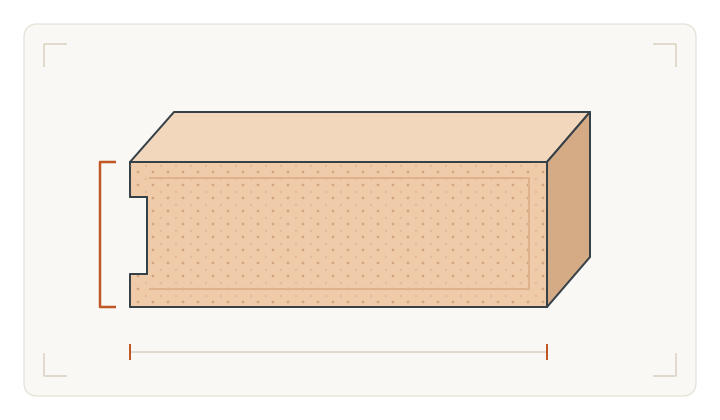
The gross format of 2400 × 1200 mm and the coverage of 2380 × 1180 mm differ by the amount resulting from the tongue-and-groove edge. When diagnosing the continuity of the layer, this difference helps to distinguish the dimension of the board itself from the surface actually assembled on the roof.
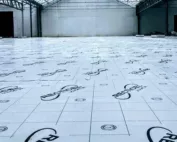
The tongue-and-groove edge reduces the gross dimension of 2400 × 1200 mm to a coverage of 2380 × 1180 mm. Calculating from the gross figure overstates the coverage area, so determine the number of Powerroof boards from the net coverage and add cutting losses separately. To diagnose the layout, record the coverage area, the number of rows and the arrangement of cut pieces around the roof valleys and roof windows.
How to understand hardness and fire class
In the Powerroof data sheet you will find CS(10/Y)150 and fire reaction class D-s2,d0. These are data for the board itself: they do not make PIR non-combustible nor give the roof fire resistance, because that is determined by the entire system.
The Powerroof datasheet states fire reaction class D-s2,d0 and CS(10/Y)150; this does not make PIR a non-combustible material, nor does it determine the fire resistance of the roof. Relate the Euroclass and the compression result to the board itself, and check the load-bearing capacity of the covering fixing, the transfer of loads and wind forces in the documentation for the complete system. At this level you will assess compliance with the mechanical and fire requirements.
Practical inspection of the completed assembly
The Powerroof quotation must cover the net covering area, the roof slope layout and the treatment of openings, as well as the thickness of the new system at the eaves and windows — without this the offer does not reflect the actual scope.
A general description of the thermal insulation does not establish whether the offer includes rebuilding the eaves and flashings after adding the Powerroof above-rafter layer. The new slope height changes the scope of external works, and preserving the existing loft conversion may increase it; without itemising these positions you will not assess the completeness of the offer. When comparing renovation variants, list the net covering area, the measured quantities for fixing, flashings and works at the existing roof windows.
7 branches. Materials closer to your project.
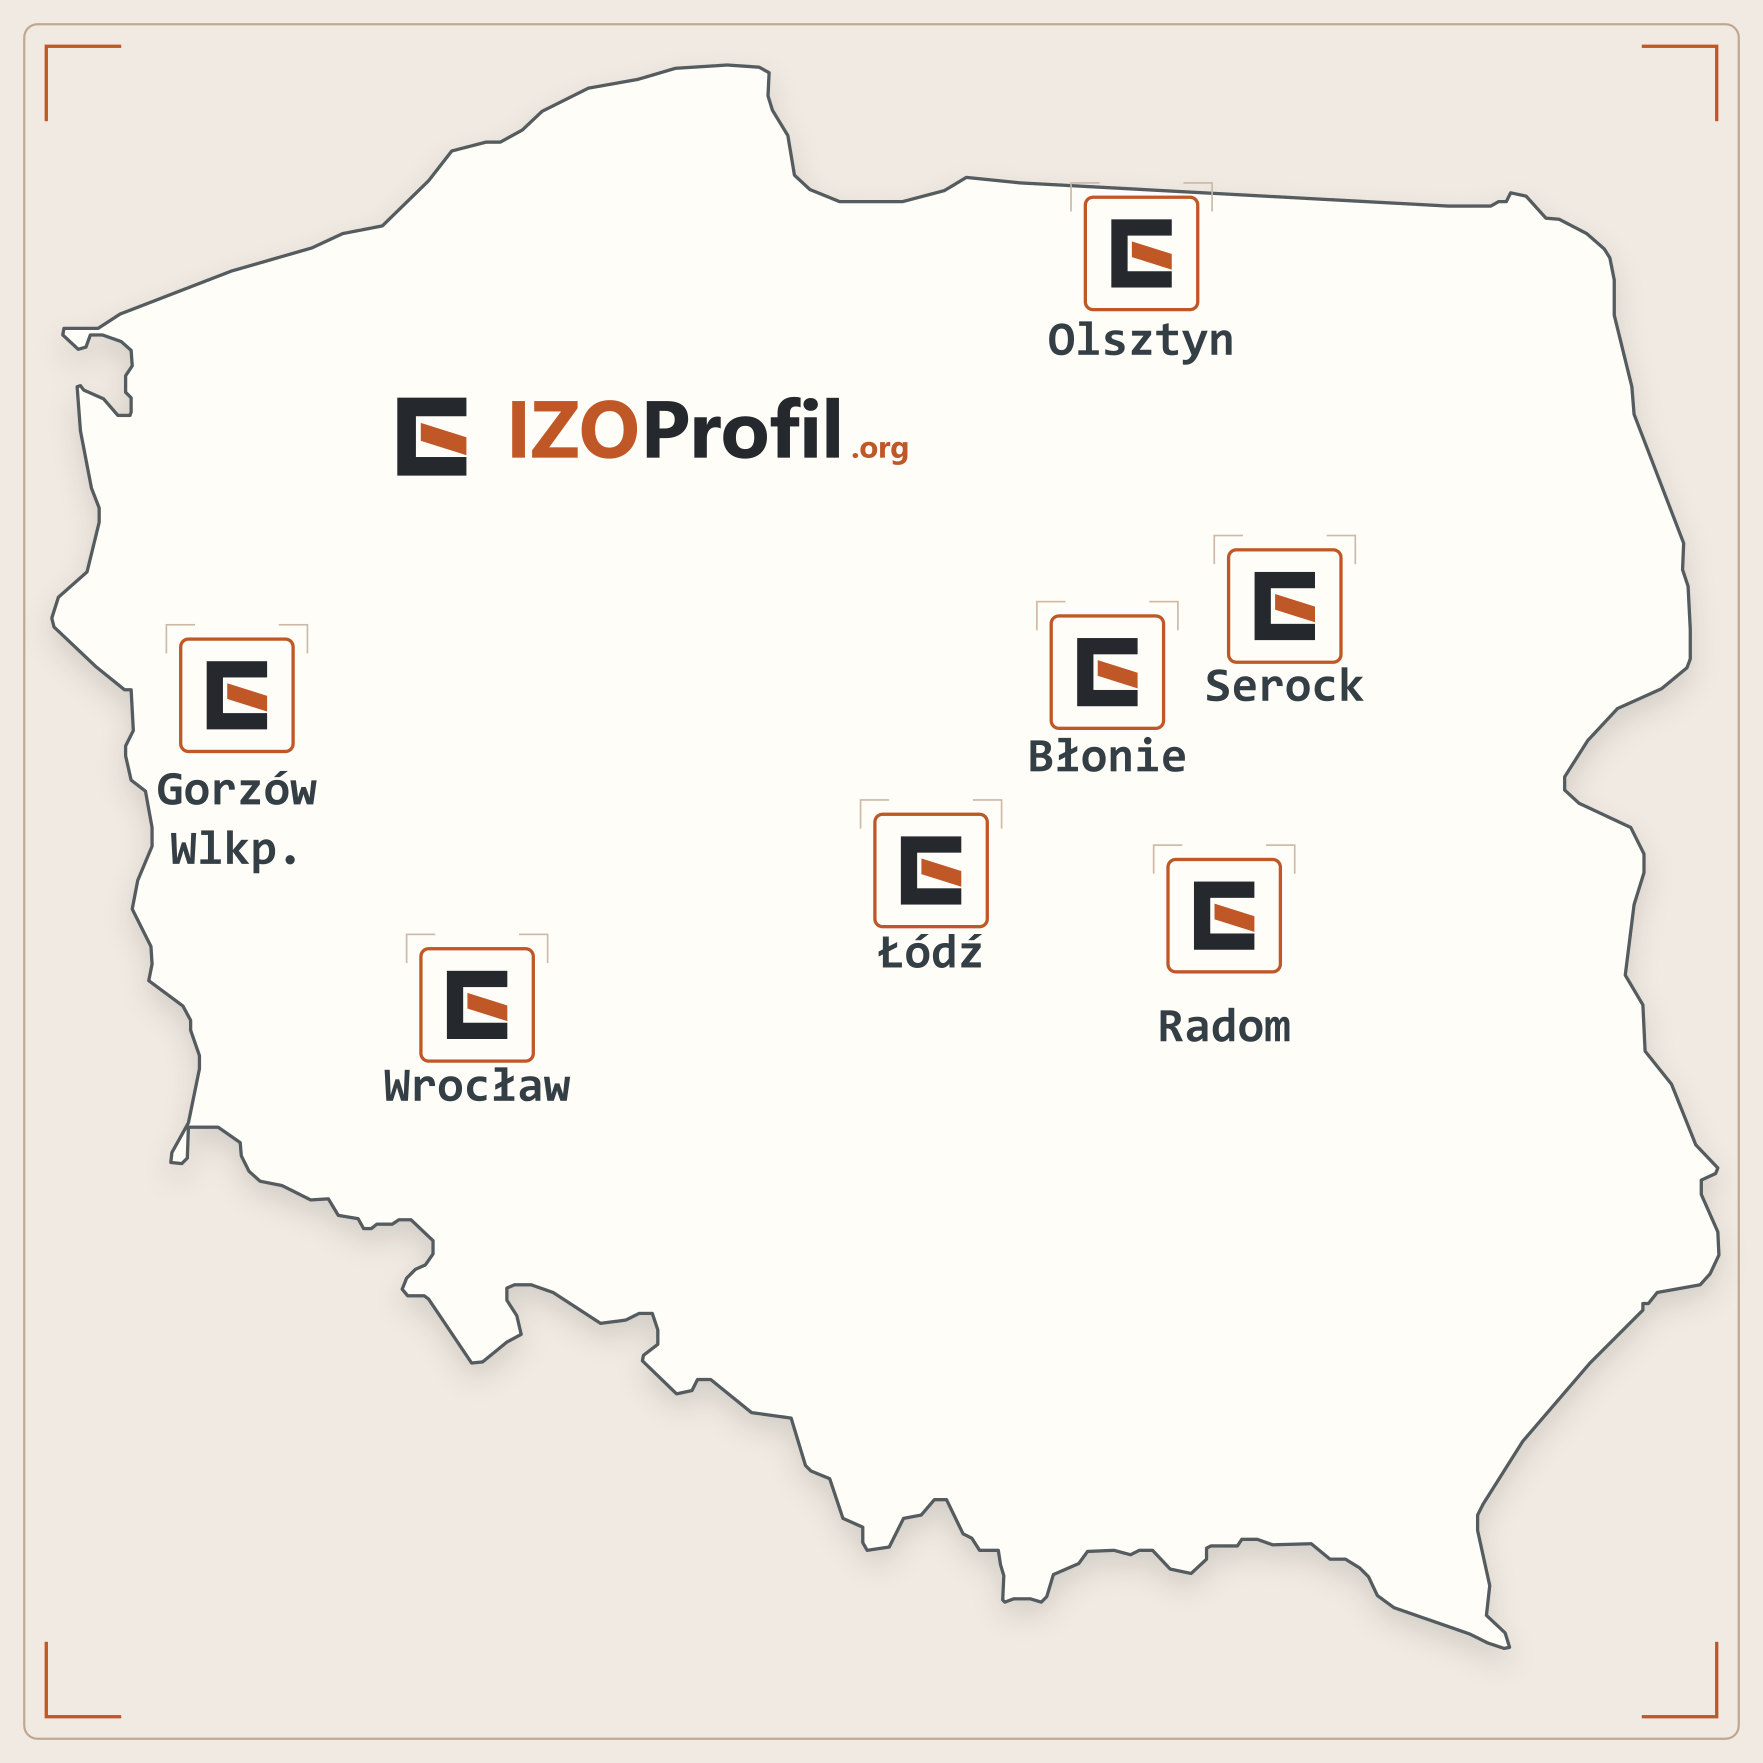
- SEROCK — Dzierżenin 34 E
- BŁONIE — ul. Sochaczewska 138A
- RADOM — ul. Grobickiego 8
- ŁÓDŹ — Natolin 8
- OLSZTYN — Barczewo, ul. Prosta 9
- WROCŁAW — ul. Jerzmanowska 10C
- GORZÓW WLKP. — ul. Zielona 33/34